Developing for the iPhone Barometer
November 17, 2014
We heard that the iPhone 6 and iPhone 6 Plus were shipped with barometers inside of them, but we really haven’t heard much about them. I will go through a rather quick tutorial on how to access the barometer with the current API available to developers.
CMAltimeter
The main class developers need to be concerned with for this task, is the CMAltimeter class. Note, for fairly obvious reasons, the CMAltimeter class will only be effective on a physical device. To begin, start with a basic subclass of UIViewController and import the Core Motion library:
import CoreMotion
Next, we need to create a CMAltimeter object, but a common pitfall is to create it in the viewDidLoad(). If done that way, the altimeter won’t be accessible when we need to call a method on it. Nevertheless, go ahead and create your CMAltimeter object just before the viewDidLoad():
let altimeter = CMAltimeter()
I recommend creating a simple UI in Storyboard so you can actually begin tracking the altitude and pressure later on. Something like the following will suffice:
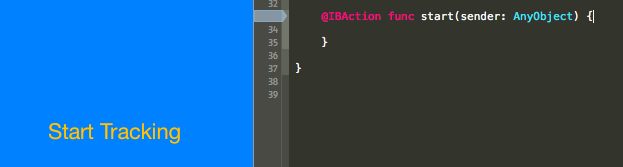
As you can see, I just created a button and IBAction so we are ready to begin monitoring with our barometer.
- In that start method created, we need to check if relativeAltitude is even available with the following method:
CMAltimeter.isRelativeAltitudeAvailable - If that returns true, you can then begin monitoring altitude change with
startRelativeAltitudeUpdatesToQueue - If there are no errors, you should be able to retrieve data from the
relativeAltitudeandpressureproperties.
Here are those 3 pieces together.
// 1
if CMAltimeter.isRelativeAltitudeAvailable() {
    // 2
    altimeter.startRelativeAltitudeUpdatesToQueue(NSOperationQueue.mainQueue(), withHandler: { data, error in
        // 3
        if (error == nil) {
            println("Relative Altitude: \(data.relativeAltitude)")
            println("Pressure: \(data.pressure)")
        }
    })
}
If you set up your project correctly and run the code above, you should get continuous updates of CMAltitudeData as it comes in. The relative altitude you get back is in meters which makes it very easy to tell if it is working. Now, the data you get back from pressure is in kilopascals which of course, is a measurement of pressure similar to Pascals or PSI (pounds per square inch). To give you some perspective, it is 99.36 kilopascals in the room I am in, which converts to 14.41 PSI. To understand that number, your car most likely has a tire pressure of around 30 to 35 PSI. While, you won’t be ready to setup your own meteorologist station, you will be a little smarter about the world directly around you.
Here are some examples of how the previously mentioned data is useful:
- With the relative altitude, you can track how high a user has ascended or how low they have descended since starting your app. The obvious use would be a Hiking application, but I’m sure there are more creative uses for that.
- With the pressure reading of your currently altitude you can gather more weather related data that apps like WeatherSignal have done. They had a crowd sourced weather app using the barometer on certain Android devices, but now that iPhone has one, they are included in the data collecting fun.
The data to be gathered through the iPhone’s barometer seems rather thin, so it would be interesting to see Apple beef it up at some point. Including data like actual elevation above sea level in a simple API would be amazing. Anyway, these are useful and concise classes that are actually pretty easy to use. You can see my entire view controller for this tutorial, excluding the storyboard, in the following Github Gist.
Tweet